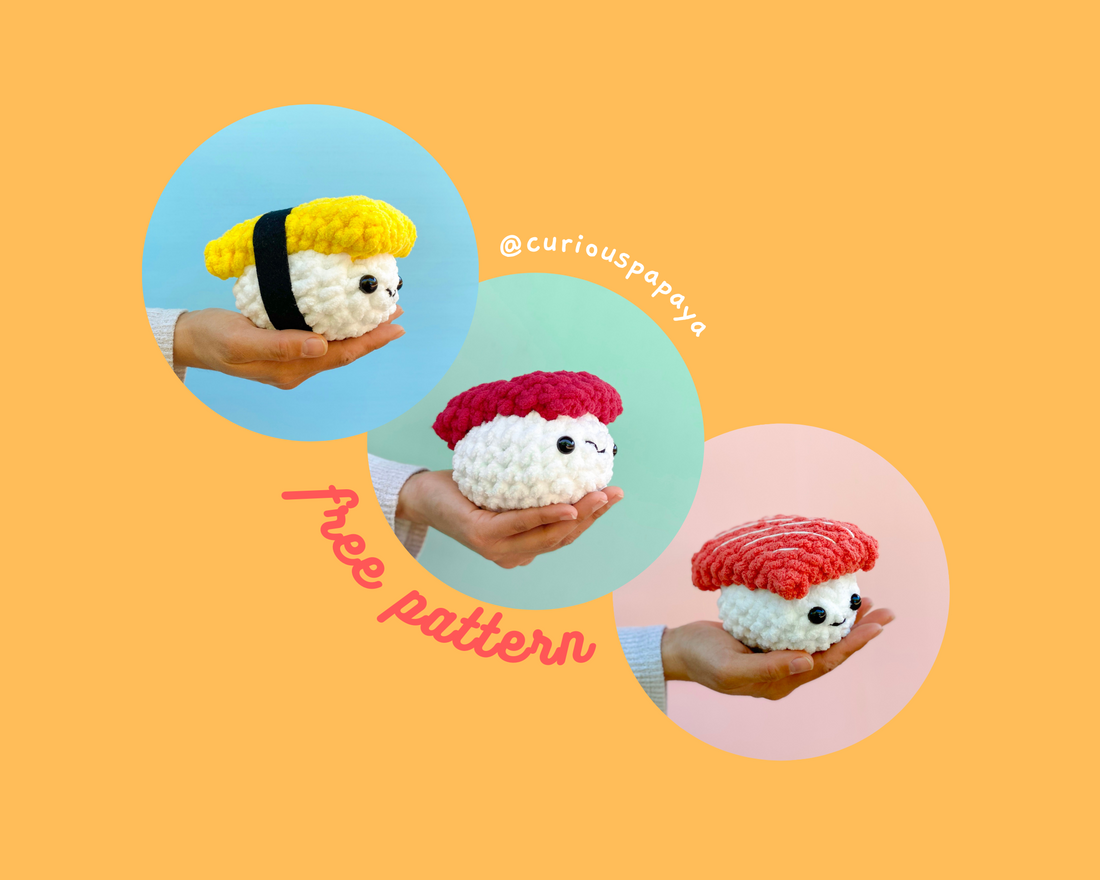
Calling all sushi addicts, don't be shy! Introducing my Chunky Nigiri Pattern.
"Nigiri" means "two fingers" and is sushi consisting of a small ball of rice smeared with wasabi sauce and topped with raw fish and "Tamago" means "egg".
Japanese food is probably my favorite cuisine! What's yours?

*If you prefer an ad-free, printable PDF version of this pattern, you can purchase it HERE. Thanks for supporting my designs!
Note: Please do not copy/redistribute any part of this pattern as your own. Feel free to sell your finished products in small quantities - I only ask that you give credit to help support my work :). I would also love for you to share photos of your cute creations made with my pattern by tagging me on Instagram #curiouspapaya. Thank you!
*We will be working in a spiral.

MATERIALS:
-Check out the list of my FAVORITE CROCHET TOOLS!
-Chenille yarn in white, red, orange, and yellow (Here, I'm using Bernat Blanket in White, Racecar Red, Carrot Orange, and School Bus Yellow
-Size 8 mm hook
-Yarn needle, scissors, stitch markers, hot glue
-Fiber fill stuffing
-Size 12 mm safety eyes
-Black acrylic yarn for the mouths
-For Tamago: black felt
-For Salmon: 1.5 ft (3.81 cm) of cream colored yarn for stripes
TERMS:
-DEC: decrease
-FLO: front loops only
-INC: increase
-SC: single crochet
-ST(s): stitch(es)
-RND(s): round(s)
-(...) x #: repeat directions in the parentheses # of times
RICE BALL (in white yarn)
RND 1: Make a magic circle and (SC) x 6 [6]
RND 2: (INC) x 6 [12]
RND 3: (SC, INC) x 6 [18]
RND 4-9 (6 RNDS total): SC all around [18]
RND 10: (SC, DEC) x 6 [12]
Stuff. Insert safety eyes 2 STs on both sides from the center of the magic circle.
RND 11: (DEC) x 6 [6]
Stuff it again. Fasten off and leave a tail for sewing. With a yarn needle, go through the FLO of each ST and cinch the hole closed tight. [img 1]

TAMAGO, SALMON, & TUNA (in the corresponding color):
RND 1: CH 10. Starting in the second CH from the hook, SC into the next 9 STs. Work along the bottom of the CH. SC into the next 9 STs. [18]
RND 2-12 (11 RNDs): SC all around [18]
Check to see that your sashimi is slightly longer on both edges when you place it over the rice ball. This may vary due to your tension. Modify if needed to make it longer.
Do not stuff. Fasten off and leave a tail for sewing. Use your yarn needle and go through both loops on both edges to sew it closed. Use the remainder of the tail to sew the piece onto the rice ball.


ASSEMBLY
Use the yarn tail left from the sashimi and sew it securely onto the top of the rice ball.
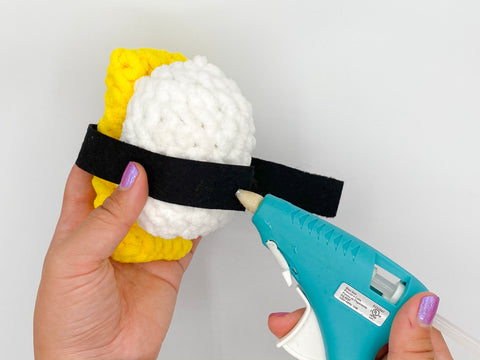
Tamago Nigiri -

Salmon Nigiri -
Take a long strand of cream yarn and sew it diagonally to create the stripes following the image below. Come back out where you started and tie the yarn tails in a knot to secure them in place.

FACIAL FEATURES
Using your yarn needle and black yarn, create a mouth. Bury the excess tail. The possibilities are endless!

You're done! My chunky nigiri friends are best when made in multiples - more sushi love! If you liked this pattern, check out my others :)