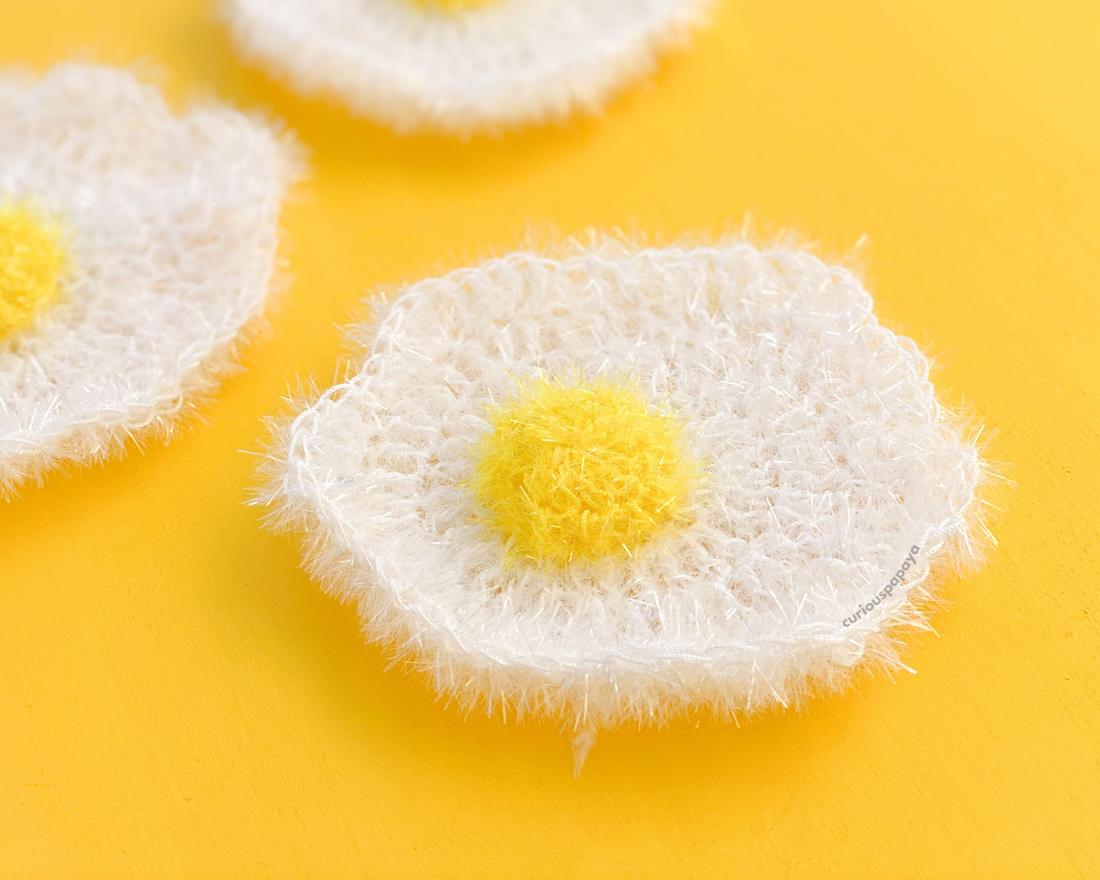
Handmade dish scrubbies are highly popular in Korea! They're called "soo se mi" and are commonly gifted as housewarming or holiday gifts. Brighten up your kitchen with this adorable and functional Egg Scrubby!
Time: ~30 min.
MATERIALS:
- 4.5 mm hook
- #4 medium worsted yarn - Red Heart Scrubby
- Yellow
- White
- Scissors
- Stitch Markers
- Yarn Needle
TERMS:
- ch - chain
- dc - double crochet
- dc-inc - double crochet increase
- hdc - half double crochet
- hdc-inc - half double crochet increase
- inc - increase
- sc - single crochet
- slst - slip stitch
- st(s) - stitch(es)
- rnd(s) - round(s)
- [#] - stitch count
- (…) x # - repeat the instructions within the parentheses # of times
PATTERN NOTES:
*We will be working in joined rounds. The chain at the beginning of each round counts as the first stitch.
*Please do not copy/redistribute any part of this pattern as your own. This includes reposting/translating without permission. Feel free to sell your finished products in small quantities - I only ask that you give credit to help support my work. Tag #curiouspapaya so I can feature you!
*Measurements: 5 in. in diameter if using the prescribed materials.
If you prefer, you can find the premium printable PDF HERE. Thank you for supporting my designs!
EGG WHITE
(in White scrubby yarn)
* = slst into the first st to join the rnd
Rnd 1: make a magic circle and ch 2 (this counts as your first dc) , (dc) x11, * [12]
Rnd 2: ch 2, dc into the same st, (dc-inc) x11, * [24]
Rnd 3: ch 2, dc into the same st, dc into the next st, (dc-inc, dc) x11, * [36]
- Note: In the next rnd, we will make the egg white more oblong in shape.
Rnd 4: ch 2, dc into the same st, dc into the next 2 sts, (dc-inc, 2 dc) x5, (inc, 2 sc) x6, * [48]
Round 5: (sc, hdc, dc-inc, hdc, sc, slst) x4, (3 sc, 3 hdc-inc) x4, ch 10 to create a loop to hang your scrubby, * [64]
Fasten off and leave a tail for weaving in.
EGG YOLK
(in Yellow scrubby yarn)
Rnd 1: Make a magic circle and ch 2 (this counts as your first dc). (dc) x11, * [12]
Rnd 2: ch 1, dc all around, * [12]
Fasten off and leave a tail for sewing.
ASSEMBLY
Step 1: Position the yolk slightly off-centered on the egg white.
Step 2: Thread your needle with the yolk yarn tail and sew going through the blo.
Tip: Be careful not to pierce through the other side of the scrubby!
Do not stuff the yolk. Weave in the excess yarn tail inside.