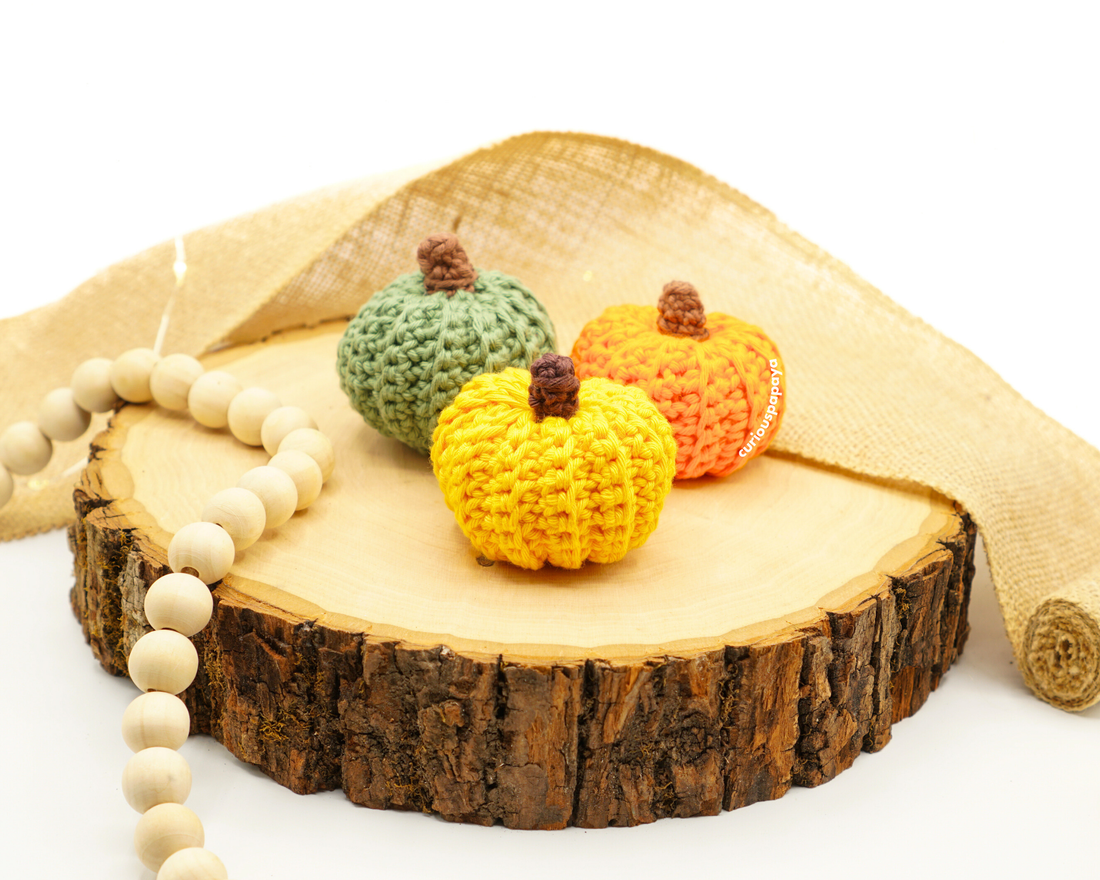
Did you know? Pumpkins first became associated with Halloween when the Irish first immigrated to the U.S., as pumpkins were native to the region. Scary faces were carved on them to scare away evil.
MATERIALS:
*Click HERE for a list of my favorite tools.
- #3 light worsted yarn - Hobbii Friends Cotton 8/8
- Sage (114)
- Orange (30)
- Dark Yellow (26)
- Chestnut (11) - brown color
- Note: You will need less than one skein of each color.
- 2.75 mm hook
- Yarn needle
- Scissors
- Stitch markers
- Sewing pins
- Fiber fill stuffing
TERMS:
- ch - chain
- flo - front loops only
- inc - increase
- sc - single crochet
- slst - slst
- st(s) – stitch(es)
- rnd(s) – round(s)
- [#] – stitch count
- (…) x # – repeat the instructions within the parentheses # of times
NOTES/TIPS:
-
Please do not copy/redistribute any part of this pattern as your own. This includes reposting/translating without permission. Feel free to sell your finished products in small quantities - I only ask that you give credit to help support my work. Tag #curiouspapaya so I can feature you!
- This pumpkin is worked in rows and the stem is worked in both joined and continuous rounds (a spiral).
-
Difficulty: Beginner +
- Measurements: ~2.5 in. x ~2.5 in. [6 cm x 6 cm] if using the prescribed materials and if yarning over.
PUMPKIN
In the color yarn of your choice
*You can also find the premium, printable PDF HERE if you prefer. Please note that this pattern is able to remain free due to the ads on this page. Thank you for your support!
*Note: Leave 12 in. [~30.5 cm] of a yarn tail for sewing before making the slipknot.
Row 1: ch 13, starting in the second ch from the hook, make 12 sc, turn [12]
Rows 2-27 (26 rows total): (blo) - ch 1, sc down the row, turn [12]
Fasten off and leave the same length tail as we did in the beginning.
Step 1: Hold the two short ends together with the foundation chain edge closer to you.
Step 2: Whipstitch the ends together. Use the loops left from the foundation chain and the blo of the other edge. [img 1]

Step 3: Weave in and out of the long edge of the pumpkin and pull it closed. Sew through the opening a few times to close up any gap left. [img 2]

Step 4: Stuff.
Step 5: Use the other yarn tail and sew the other opening closed.
Step 6: Weave in all tails.
STEM
In Chestnut yarn
*Note: The construction of the stem uses both joined rnds and continuous rnds. Rnd 1 is made in a joined rnd to create a flat top for the stem. We won’t “ch 1” for any other rnd except for rnd 2.
Rnd 1: Make a magic circle and (sc) x4, slst into the first st to join the rnd [4]
Rnd 2: (blo) - ch 1 (counts as your first st), sc all around [4]
Rnd 3: (sc, inc) x2 [6]
Fasten off and leave a tail for sewing. Lightly stuff with yarn scraps. [img 3]

Sew the stem to the top of the pumpkin going through the blo.
You’re finished!
Bonus Idea: Make an adorable “Fall” themed corner by putting together some wood slices, mini pumpkins, pine cuttings, and a cozy candle. Or, add some scent beads to the pumpkin before closing it up.
You're finished! If you enjoyed making this free pattern, please feel free to leave a comment + subscribe to my mailing list. Cheers! -Amy
